Measure the wall again. Cut the moulding 18-inch longer than measured.
 How To Install Crown Molding Stanley Tools
This tutorial is designed to work with 3852 Crown Moulding on a compound miter saw for 90 degree inside and outside corners.

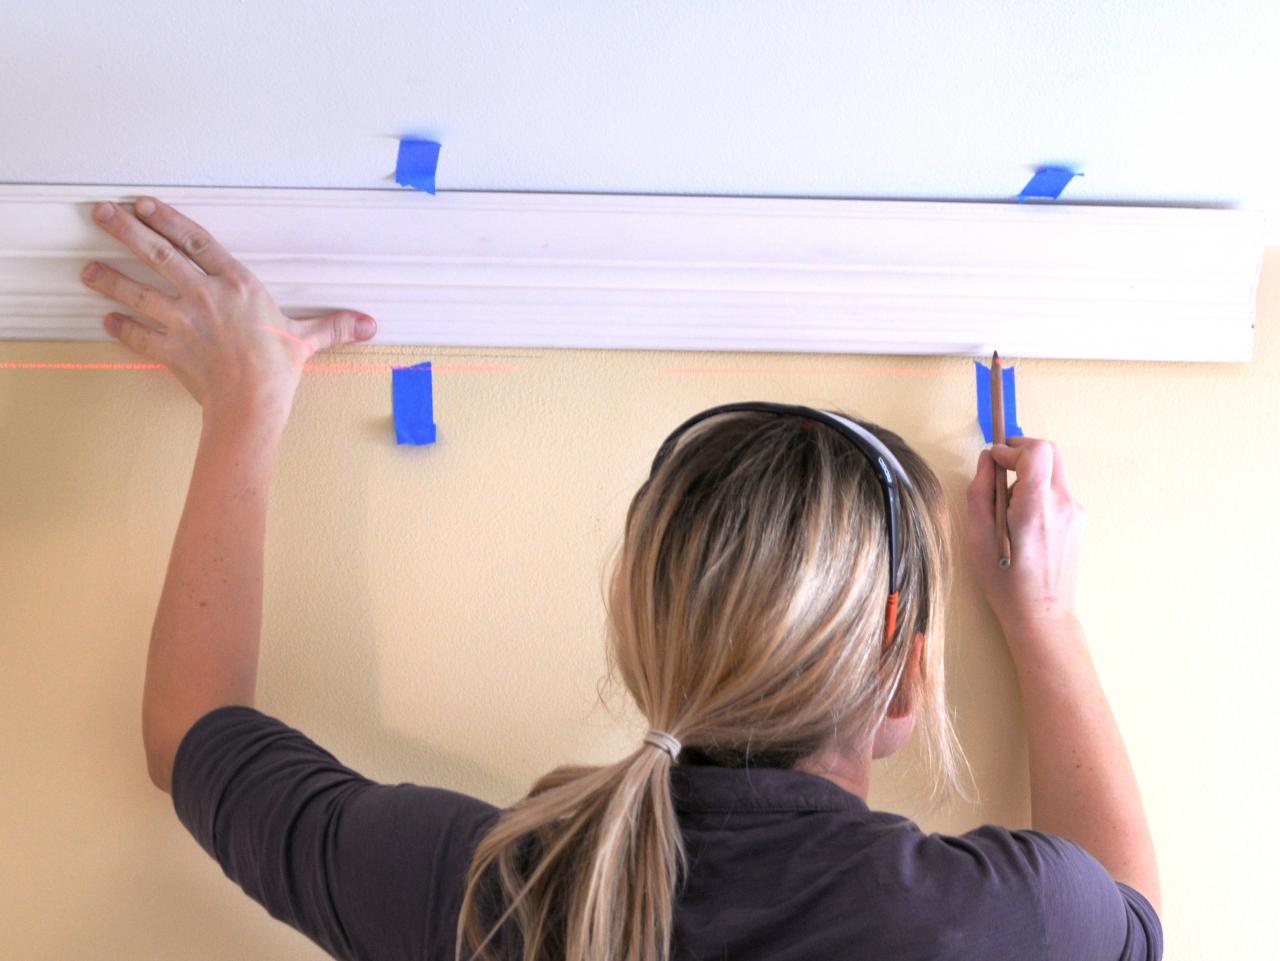
Install crown moulding. The crown is installed with a combination of horizontal and vertical turns. You cant do it like any other trim pieces because the molding sits at an angle between the wall and the ceiling Image 1. Installing crown molding always involves working above the floor on ladders.
Begin your installation on the longest wall using a molding piece with two butt ends 90-degree angles. Standard 3853 Crown Moulding on 90 Degree Corners. Cut at one mark then move the molding along to the next mark.
Joints B C D are turns made in a vertical plane the wall. Follow along to learn how to install lighted crown moulding to your rooms. We have made many mistakes and wasted a lot of crown molding trying to get.
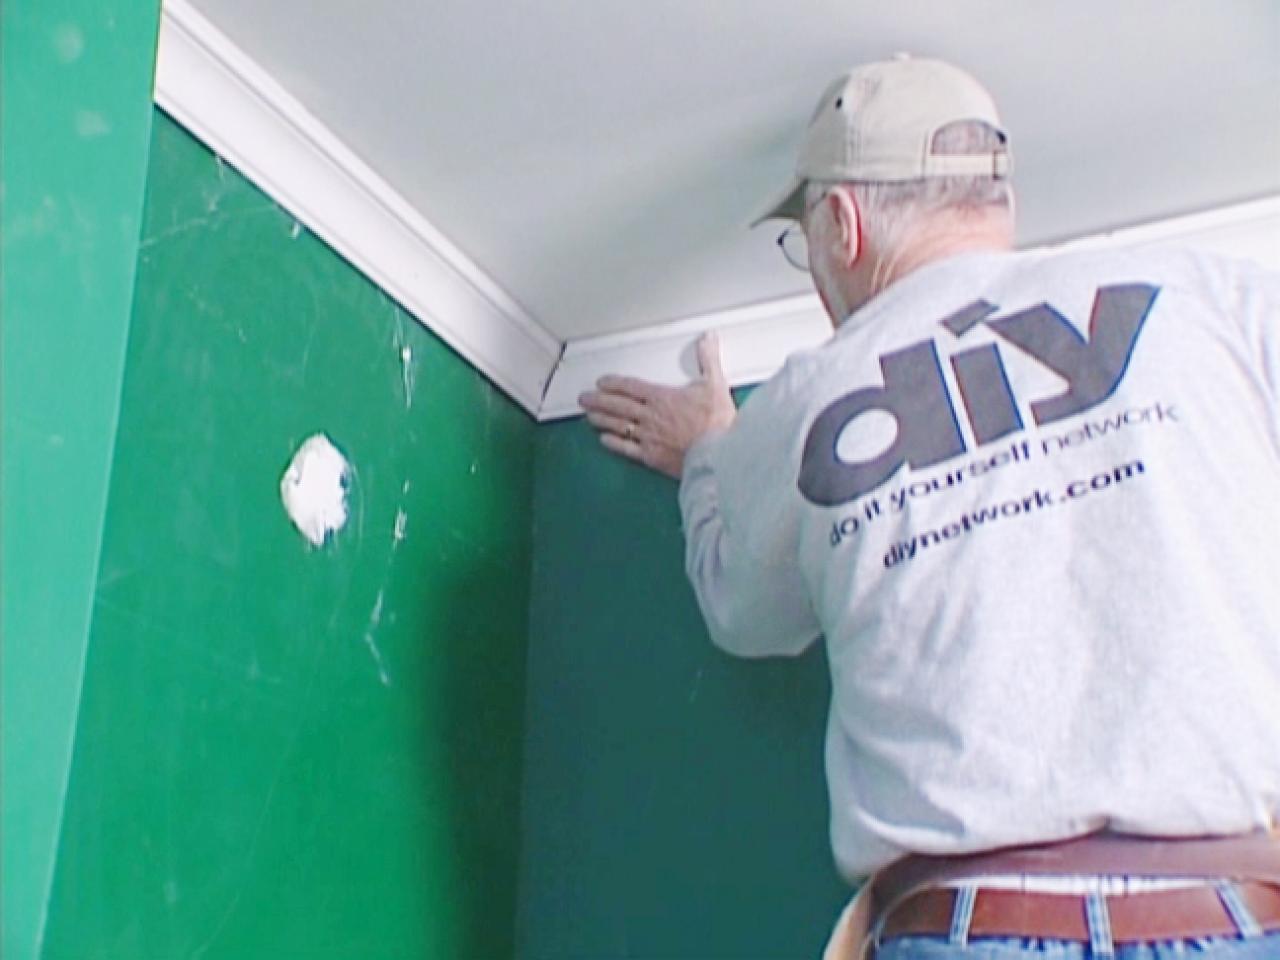
Long sections of crown molding can be unwieldy so it helps to have an assistant hold the far end of the crown molding. Here is a link to the Kreg crown mould jig used in the video. Use a pin nailer to nail into the corners of the two pieces of crown molding Image 2.
Joints A E are turns made in a horizontal plane just like the turns made while installing crown on a horizontal ceiling. Make sure the pieces are together and in place snugly. Cut the Molding Swivel the saw to a 45-degree angle to match the direction of the molding set the board against the saw at the mark and make the cut.
Add accent lighting to your home with our DIY crown moulding lighting ideas. Using a coping saw Image 2 is the easiest way to cut the corners because a coped joint is tighter than a. Using a nail gun nail the crown.
Make a square cut on the uncoped end of the crown moulding. Measure and mark the front section of crown molding to the cabinet width. Most crown moulding purchased off the shelf has a wall angle of 38 degrees and a ceiling angle of 52 degrees.
Figure 10 is a typical installation of crown molding on a cathedral ceiling. Crown moulding measuring tape miter saw we have a DeWalt miter saw miter saw crown stops stud finder trim nail gun finishing nails for nail gun caulk Neal and I have installed a lot of crowning moulding over the years. By Video Journalist Luis DiazWebsite.
Dry fit the crown molding by holding the front piece and a side piece against the front and side of the baseboard Image 1. If the wall needs two pieces of molding create a scarf joint from two overlapping pieces cut to 45-degree angles. Flex the moulding in place.
The assistant can either stand on a ladder at your height or can. Once youre sure the joints fit youre ready to install the crown moulding. My Crown Moulding Guide.
Set the miter saw to a 45-degree angle cut. The hardest part of installing crown molding is cutting the corners. How To Cut Install Crown Moulding - YouTube.
How to Install Crown Molding. Since most crown molding comes in 16-foot lengths your longest wall will likely need only one piece. Place the crown molding so that it is rests upside-down and at a 45-degree angle against the saw fence.
The extra length will help push the cope joint closed when installing crown moulding.
 Do It Yourself How To Install Crown Moulding Royal Moulding
 Crown Molding Design Ideas And Tips Fine Homebuilding
 How To Hang Crown Molding How Tos Diy
 Installing Crown Moulding I Don T Do This Often Enough Good For Reference Diy Home Improvement Home Repairs Home Diy
 How To Install Crown Molding How Tos Diy
 How To Install Built Up Crown Molding Fine Homebuilding
Pin On For Our Home
 How To Install Crown Molding Hgtv
 Installing Crown Molding To Be Super Chunky And Beefy
 How To Install Crown Molding Youtube
/InstallingCrownMolding-5a8259dca18d9e0036e695ec.jpg) How To Install Crown Molding
How To Install Crown Molding
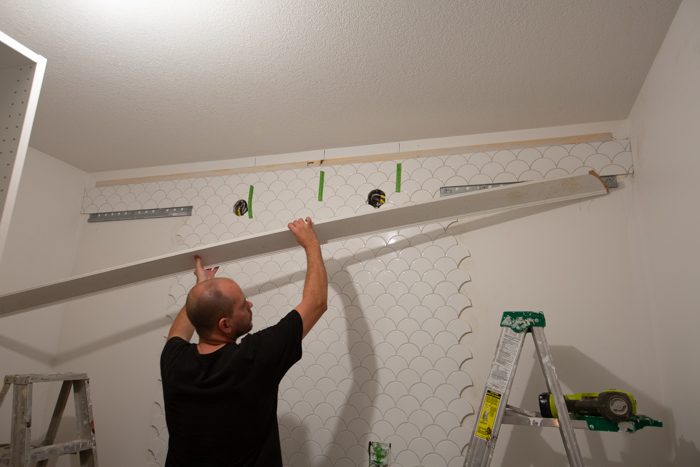 Crown Molding For Beginners How To Install Over Tile Love Create Celebrate
 Pro Tips For Installing Crown Molding How To Cut Crown Molding
 How To Cut Install Crown Moulding Youtube
Comments
Post a Comment