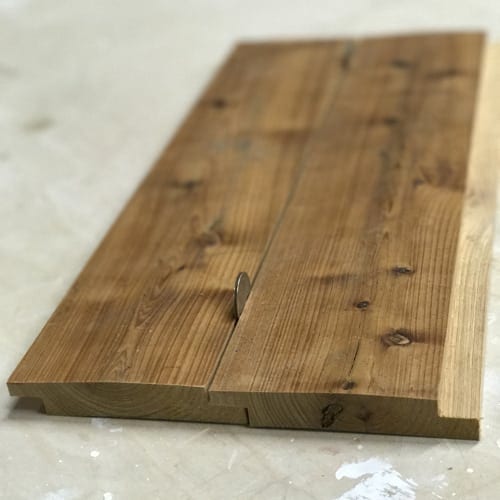
Chances are your ceiling or trim will not be level. Usually a depth of half the thickness of the board is best.
 Diy Shiplap Wall For Under 40 Hoosier Homemade
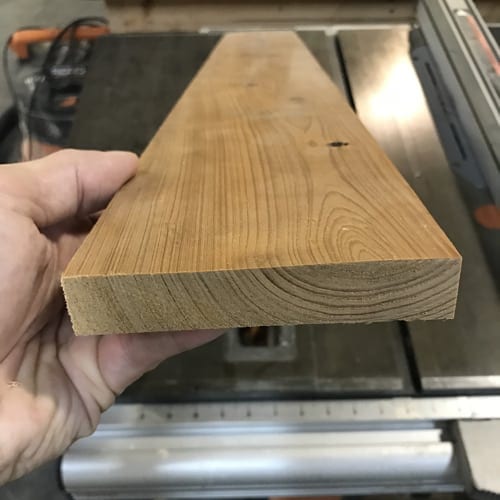
I recommend a 1x 6 board of some sort.
How to make shiplap boards. Then complete this across your entire wall. First row of shiplap cladding in place. It should be started by lining the ends with a vertical board.
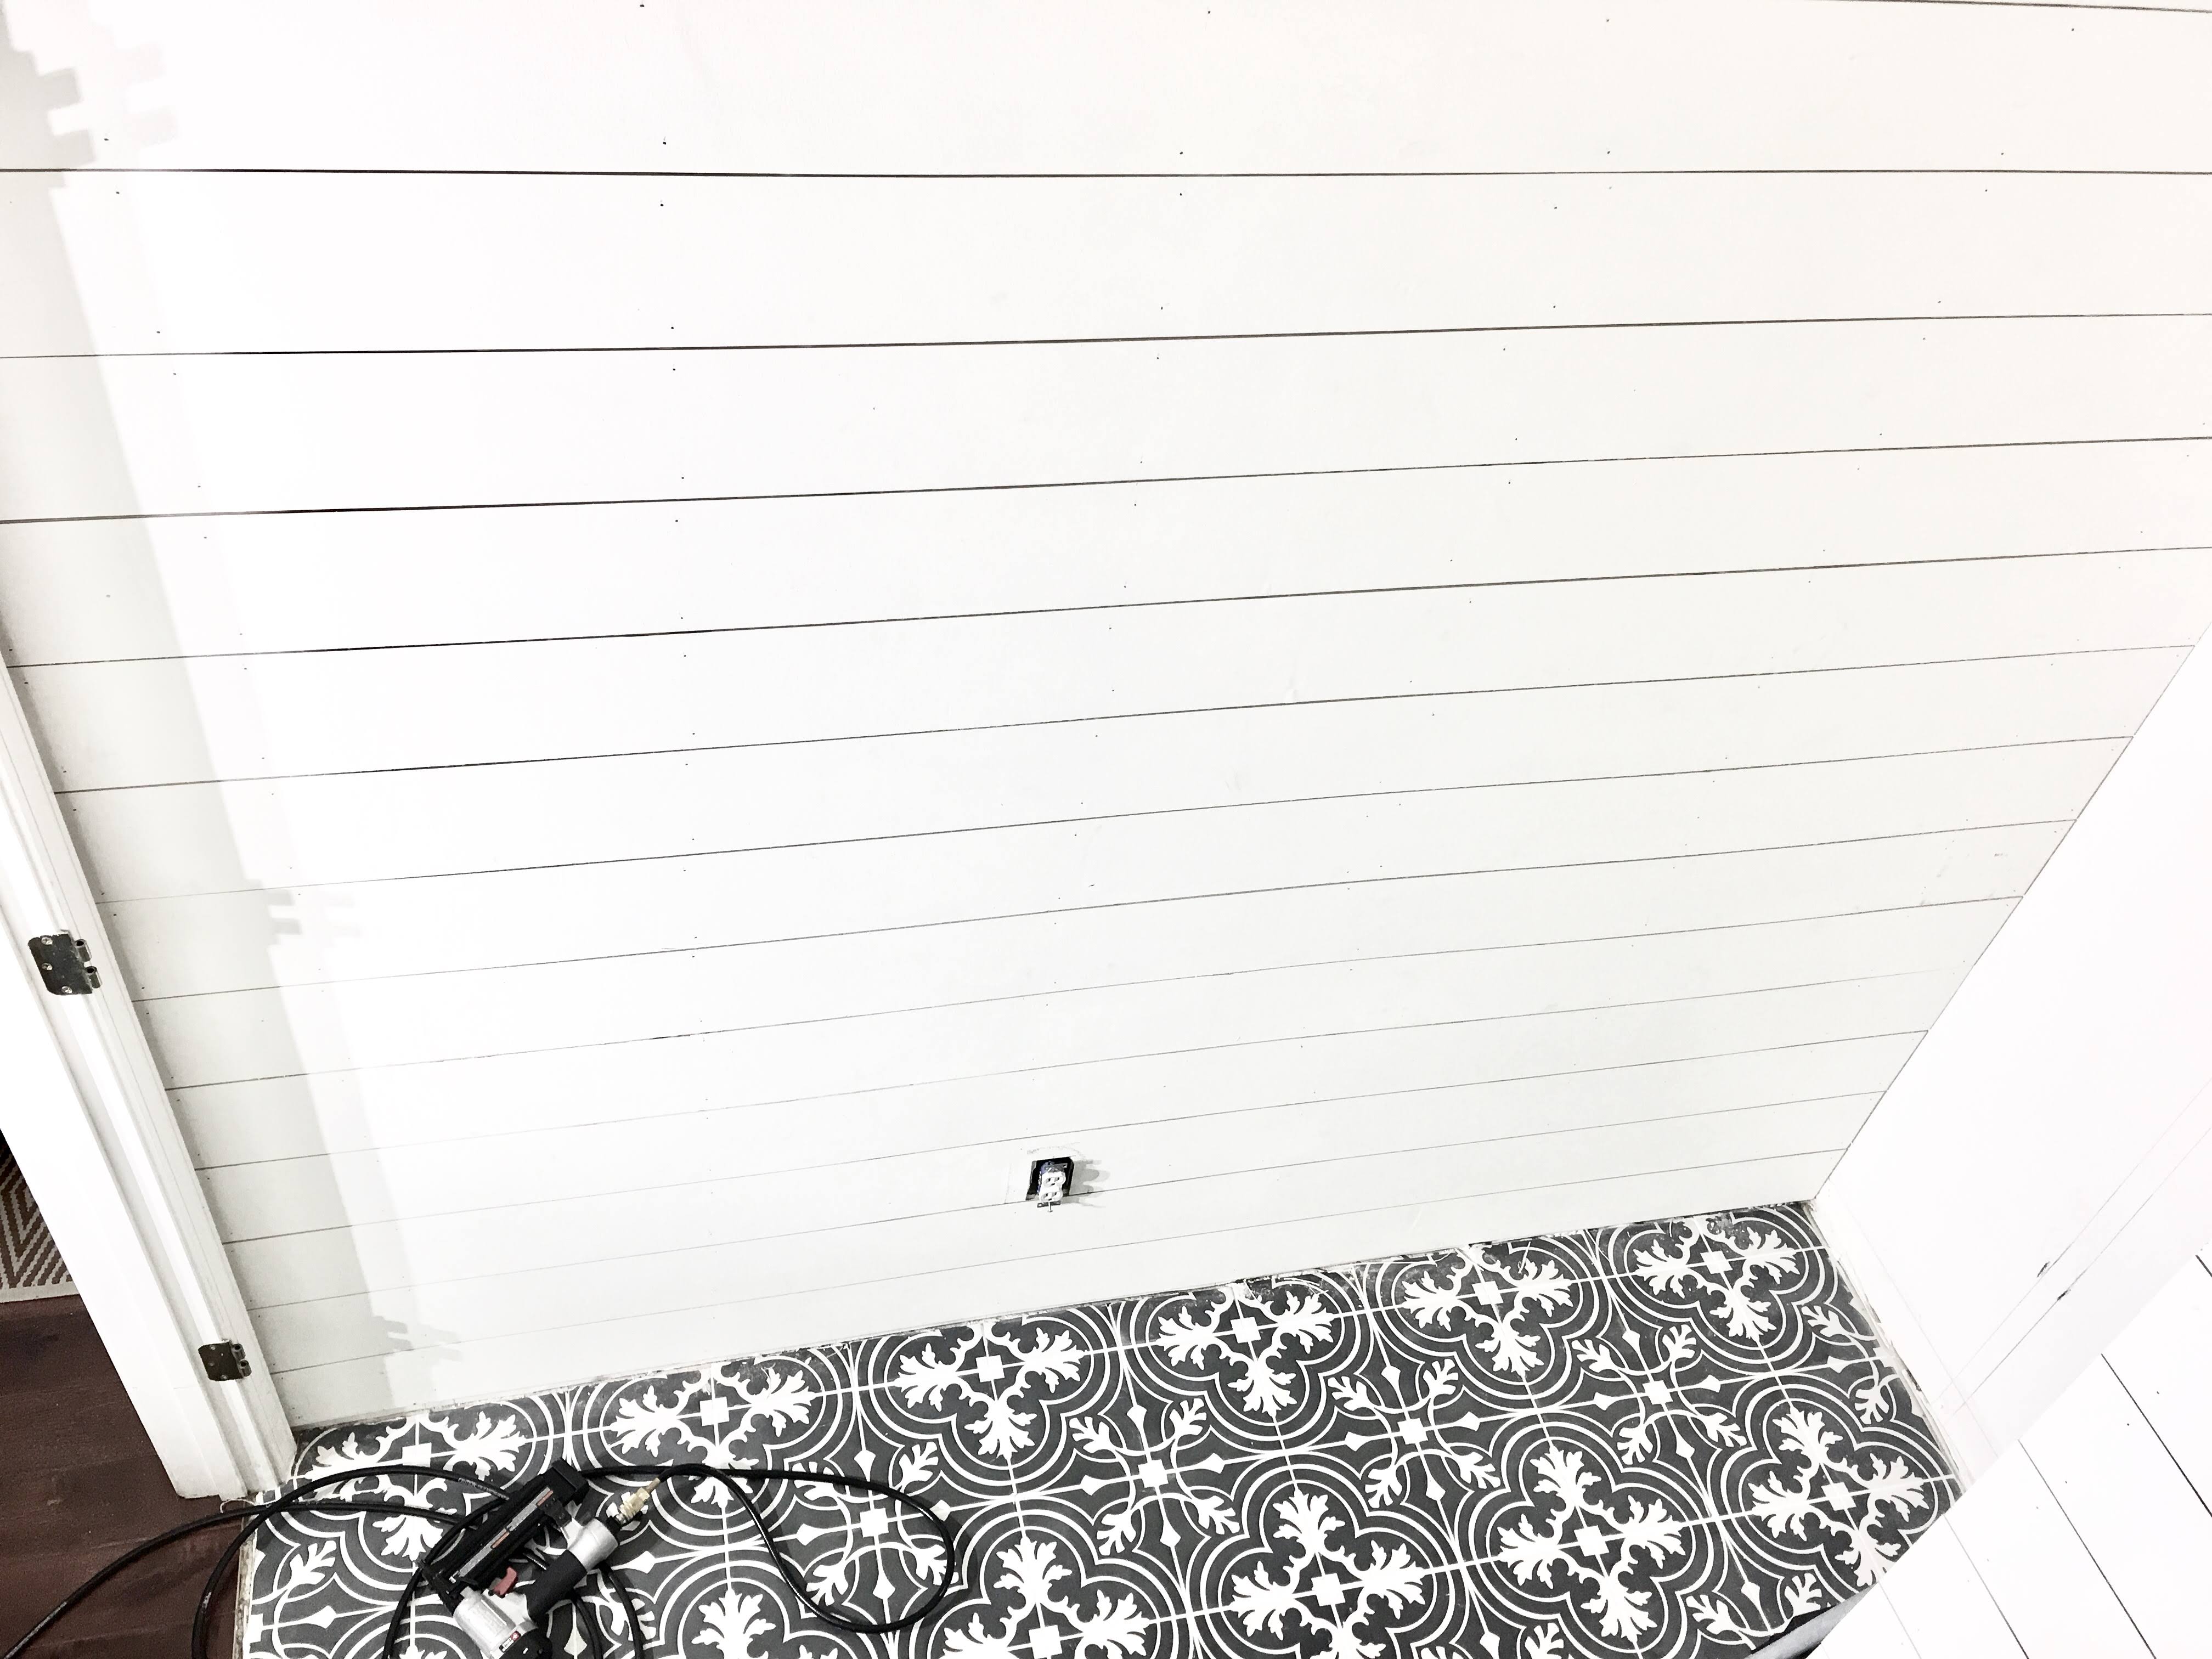
Using a nail gun nail the shiplap boards into each joist with two or more nails. Apply Liquid Nails to each board before placing on the wall and then use the nail gun to nail into the studs. If the panel is.
Shiplap is a type of wooden board commonly used as exterior siding in the construction of residences barns sheds etc. This will outline where you need to nail your planks to make sure they are securely attached to the wall. Making sure that the bottom of the Tyvek membrane overlapped the base of the shed and also the first of the shiplap boards.
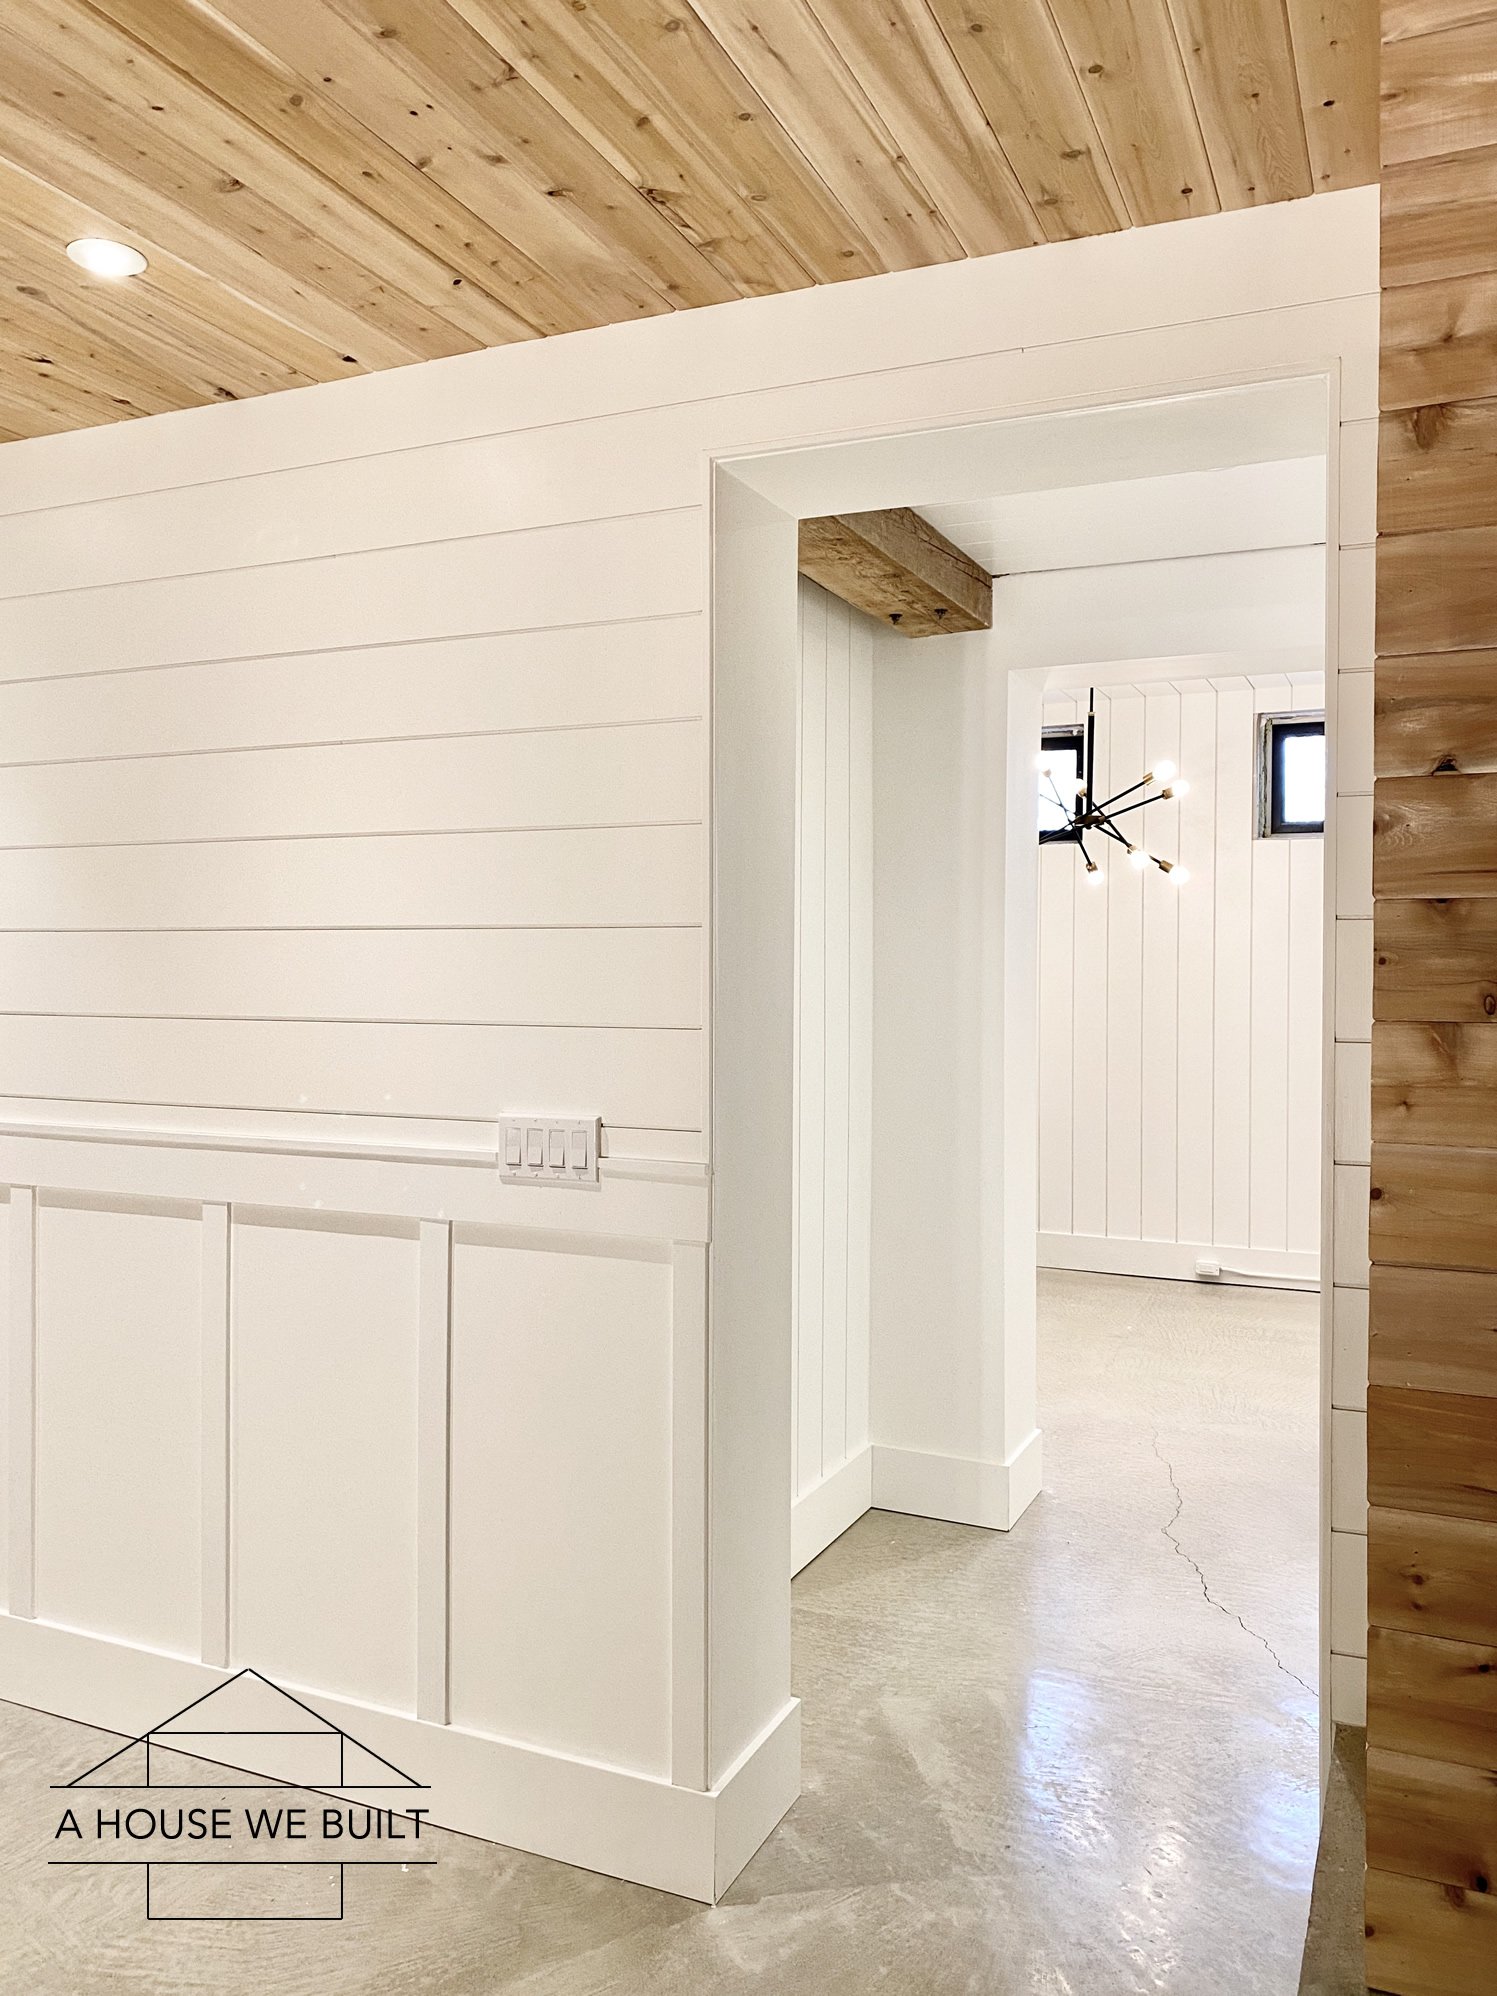
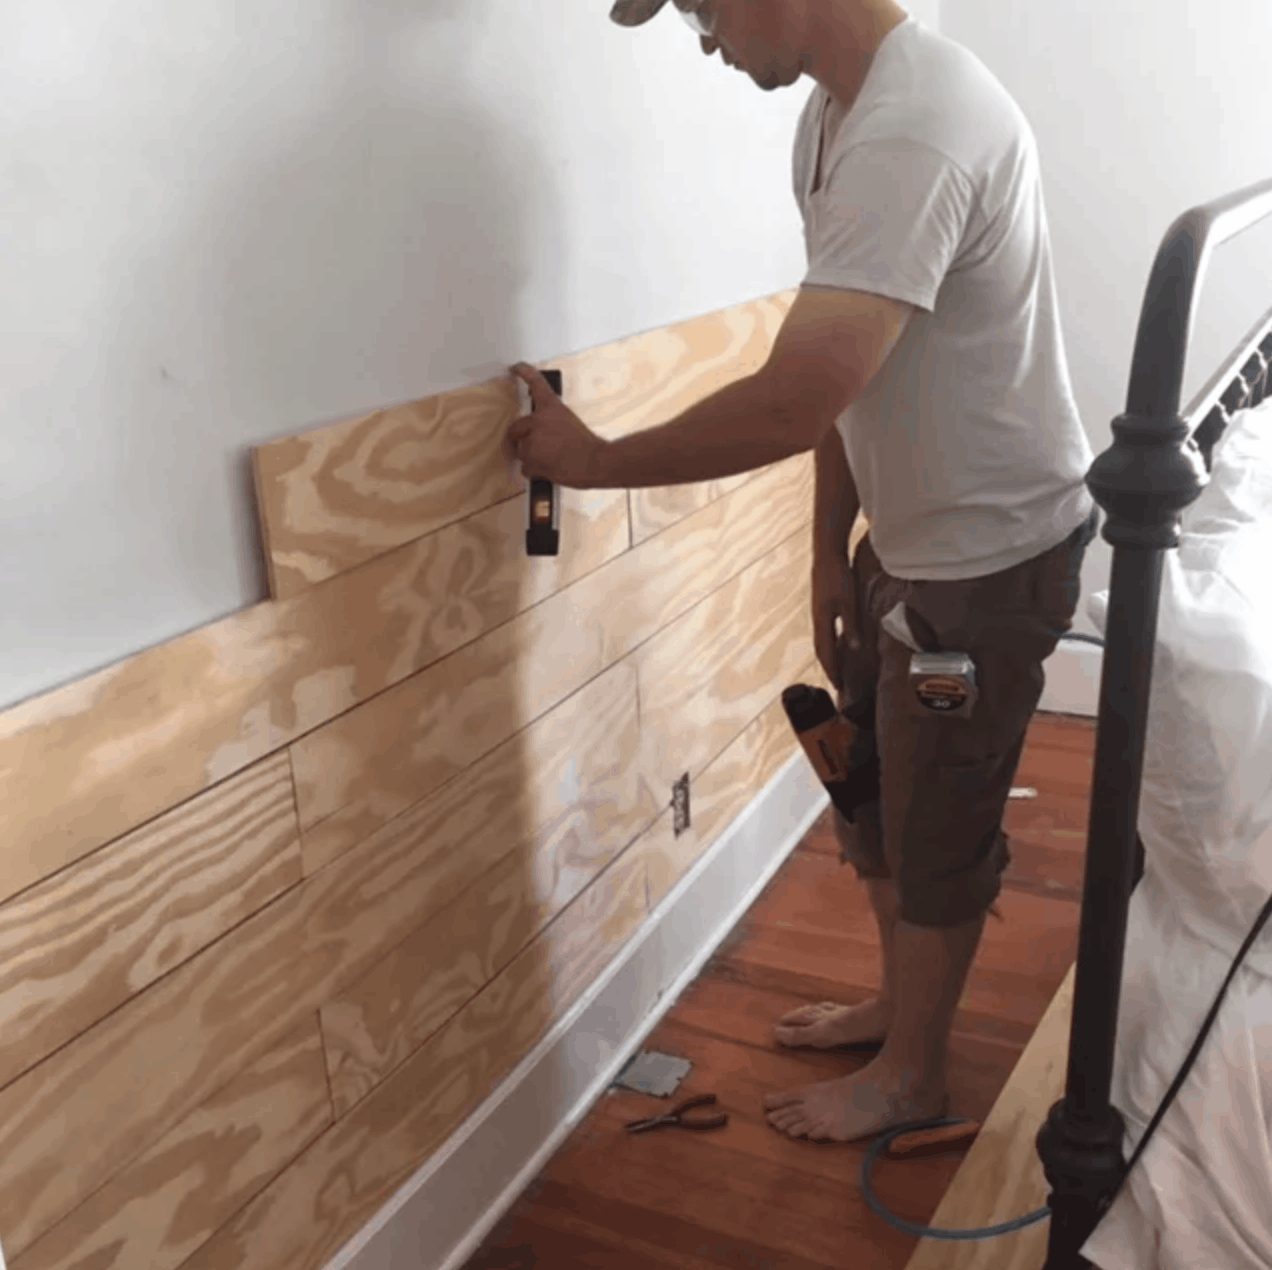
Attach the Vertical Shiplap Boards. Make sure your first board is level. I started at the bottom.
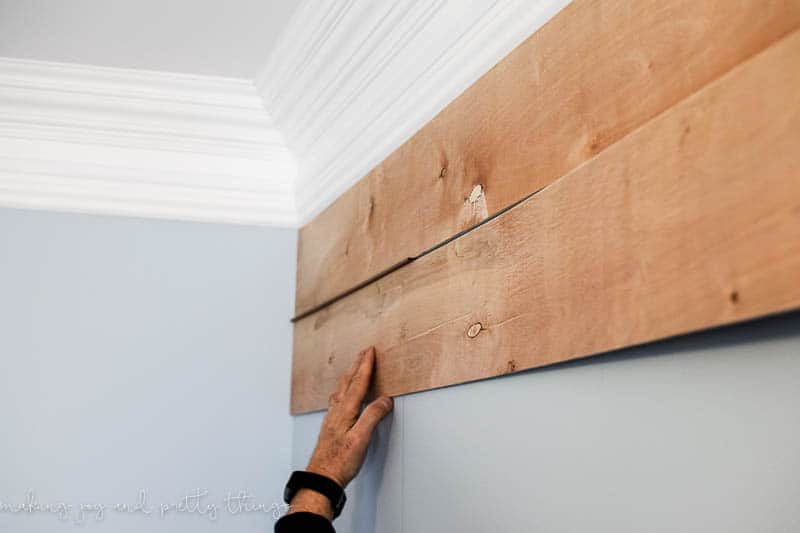
This will make sure that both your ends are even. First you will need to select the boards that you desire. Starting in the top corner of the ceiling nail in your first board.
The entire design depends on the first boards being perfectly level. Continue installing the shiplap boards on the remaining walls. Make sure they are flush to the ceiling and baseboard as well as.
It is WAY easier if you have two people hanging the boards one person on either end of the board. Be sure to stagger your cuts so the boards look random. Then nailed the board to a stud to one side of the centre of the panel.
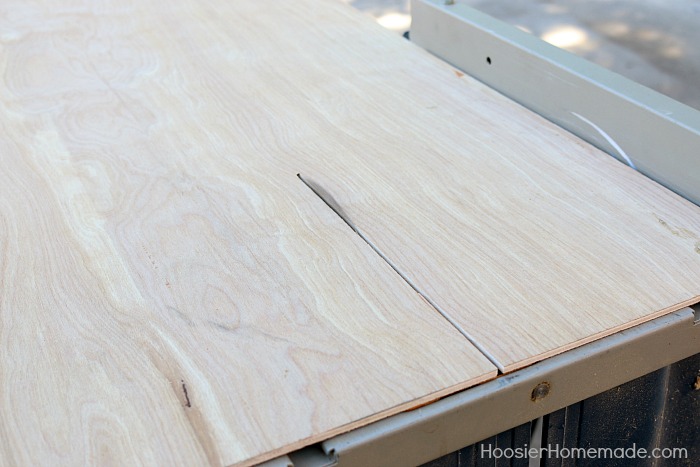
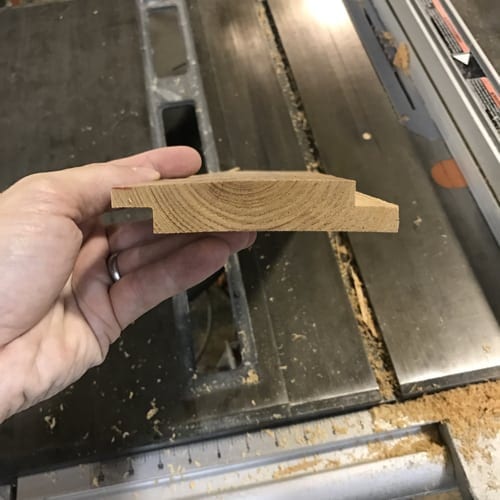
If you arent quite ready to permanently install shiplap we get it. That way when you install the boards youre left with a 14-in. So for a 34 thick board that would mean setting the blade height to 38 as well as the rip fence to 38.
Keep in mind that if you will be painting the shiplap try to use a more inexpensive board since the results of painting wont be affected by which species of wood you choose. You will need a rabbet bit to make the lap joints. You can use a 4 inch 14 nap smooth roller to paint the shiplap planks.
Nowadays shiplap is a popular interior design choice. Wide and the other at 34-in. Cut around any outlets or switches by placing planks on the wall marking where they need to be cut and then cut them out using jigsaw.
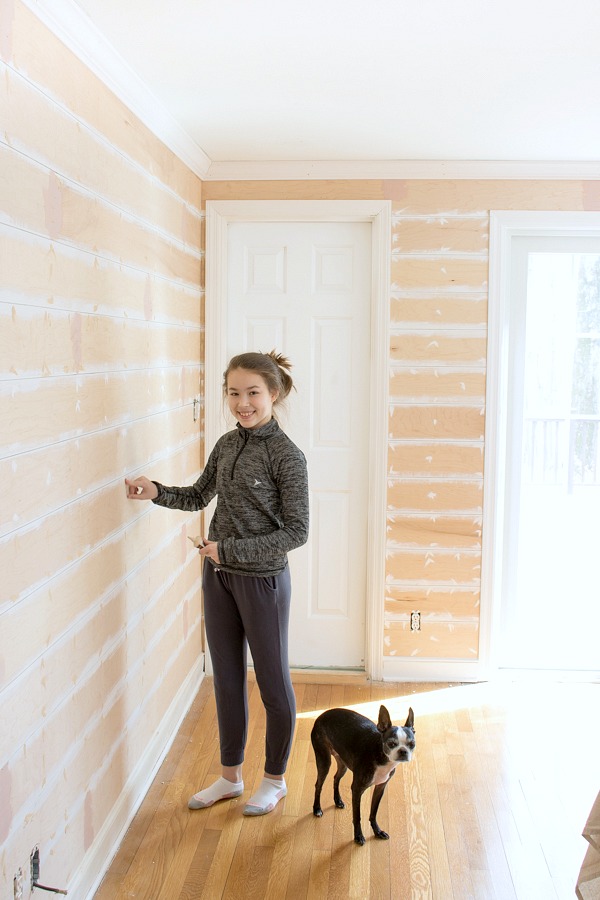
Attach the bottom board to the wall with two 2-inch nails in every wall stud. First place a board directly in the center. If you want to make your own plywood shiplap feel free to take on that extra project but we found a shortcut with premade primed shiplap planksThe premade version was a little extra cash but it was well worth it in the time that we saved.
Continue alternating boards and using the nickel spacer to nail the shiplap onto the wall until you get near the top. Measure and mark on your board where you need to cut it for the special cut. At some point you may need to make a special cut for something like a wall outlet pipe hole or light switch.
Another option for making shiplap yourself is to use a shiplap router bit set. Make sure to find the studs and nail it into the studs with a nail gun. With the first board up measure the distance between the end of that board and the wall.
To make a more traditional shiplap joint simply cut one rabbet at 12-in. Place the board tightly against the wall and the crown moulding. You have to set both the height of your blade and the rip fence to make the 2 cuts necessary for shiplap.
I used my spirit level to ensure that the first board was as level as I could. The wood paneling is hung horizontally sometimes vertically with gaps between the planks that add to its unique look. Using a straight board or long level continue to mark the stud from ceiling to floor.
Attaching the First Board. Once in place use the nail gun and nail twice roughly top and bottom of the board along each stud that the board is over. I knew I wanted a cap for the top to finish it off.
Buy a shiplap router bit set here. Its ok if you have a gap at the top between the ceiling or trim you will use caulk to fill in the gap. Starting in the middle of the wall attach the 1 x 6 boards to your wall.
Use a Dremel jig saw or drill to make the special cut. Make sure it is tuck in tight to the wall. If you decided to trim out the sides of your plank wall attach these first.
By painting them beforehand you can easily let them dry in your garage and then install them without the hassle. If you have a dado blade then you can do this in one pass. Then I just started filling in the center.
The shiplap look includes nails so I glued and nailed each board right to the plywood. The process didnt take long at all.
 How To Diy Shiplap Walls On The Cheap Driven By Decor
![]() How To Diy Shiplap Walls On The Cheap Driven By Decor
How To Diy Shiplap Walls On The Cheap Driven By Decor
 How To Install Shiplap
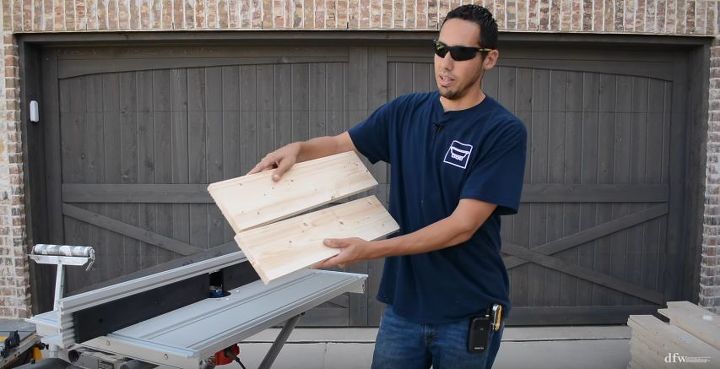
 How To Make Shiplap Wall Panels Youtube
 How To Make Shiplap The Craftsman Blog
 How To Install Shiplap In 4 Simple Steps Joyful Derivatives
 Make Your Own Shiplap Hometalk
 Cheap And Easy Diy Shiplap Wall Farmhouse On Boone
 How To Make Shiplap The Craftsman Blog
 How To Make Shiplap The Craftsman Blog
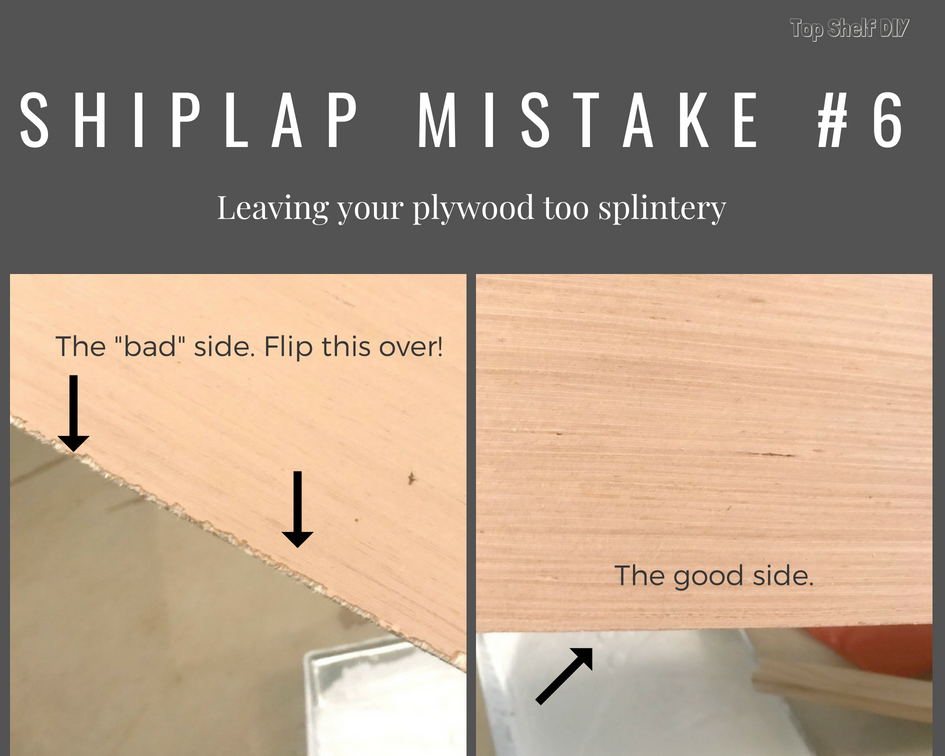 10 Mistakes To Avoid When Installing Faux Shiplap Top Shelf Diy
How To Make Diy Shiplap Building Our Rez
 How To Plank A Wall For 30 Diy Shiplap
 How To Make Your Own Shiplap Youtube
Comments
Post a Comment